It has already been passed 2 years from first Sitecore SXA version release. It became more popular in time and reached enough maturity. We were thinking to use for a project and finally, I found an opportunity to try it.
There are already some good tutorials about using Sitecore SXA and Creative Exchange Live but I want to share my experience and give some keynotes about them, especially Creative Exchange Live.
I've used these versions in my example:
- Sitecore Experience Platform 9.0 rev. 180604 (9.0 Update-2)
- Sitecore PowerShell Extensions: full 4.7.2 version (CM)
- Sitecore Experience Accelerator 1.7 Update-1
Setup Notes
- Import PowerShell Extesions before SXA package
- Restart the Sitecore Client and Restart the Sitecore Server before close import wizard
- Rebuild indexes
Note: If you have a publish error, contact with Sitecore Support. I had and they provided me a patch to fix that issue. I cannot share that patch at the moment because the fix is needed more tests and they didn't want to share it as a complete solution for now.
SXA and Creative Exchange Live
I won't give much detail how to use toolbox and add components. There is nothing special, drag and drop components and organize page as you want.
The more interesting part is on styling. And Creative Exchange Live makes the life easy at this point!
You should follow these steps to be able to work with Creative Exchange Live properly:
1. Choose "Create new theme" option and select Basic2 template as usable while creating site
This is the note in Official Sitecore Documentation, so don't forget to add Basic2 template:
2. Open Experience Editor, click Export button on Experience Accelerator menu and download the zip file created
3. Open Site Theme folder with a text editor (I use Visual Studio Code)
I assume that node.js and npm are already installed. If not, install them first.
Then, update server option in config.js file, mine is below:
If gulp is not installed yet, install it with this command:
npm install --global gulp-cli
After installation, you're ready to make changes!
Let's add a new style for a custom component. I've already created a new component called "Custom Carousel".
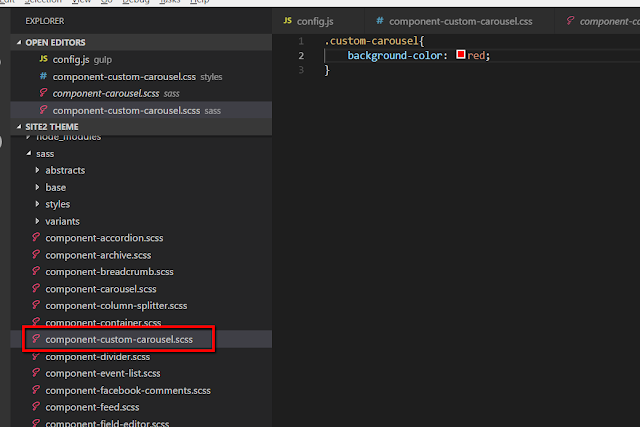
I've added a sass file for my new component like other sxa components. Then, compile sass files with this command: gulp sassComponents
First it will ask you to enter Sitecore credentials and then will create css files:
Then, tell gulp to watch changes with this command: gulp css-watch
After this, all changes you make in css files will be uploaded to server.
Here it is, see new created css file in sitecore:
You can see our new background color on page.
For the other possible options and commands, see readme.md file.
Cool! We added new sass and css files to website.
But what about to add a new class to a sxa component?
Let's continue...
As you see the picture above, I've added a Title component to page which shows website name as "Site2".
Now, I want to add a new class to that component.
There are two ways to do that:
1- Add a style from Sitecore
You will see Style item under Presentation folder item. You can create a new style and add the component to Allowed Renderings section.
2- Add with Creative Exchange
When you export and download the site, you will get index.html file. It is a static html file and you will see components you added the page before.
Before to make changes on html file, you can tell gulp to watch changes on html file and upload them to server with: gulp html-watch
After command, I've added a custom class called "custom-title-add" as below:
And it's directly updated on server:
Basically, Creative Exchange does the same thing what you do while adding a style. If you look the Style item folder again, you will see a new style called "CreativeExchange" has been automatically created:
And finally, because your component is added as Allowed Renderings, then you can see available custom classes in Experience Editor:
That's it! Hope, it helps someone. I will keep on sharing on SXA while I learn new things!


Comments
Post a Comment